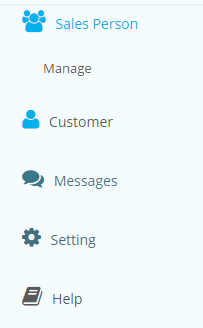
To access the Management Tools for your employees, click on the Sales Person tab, and then select Manage
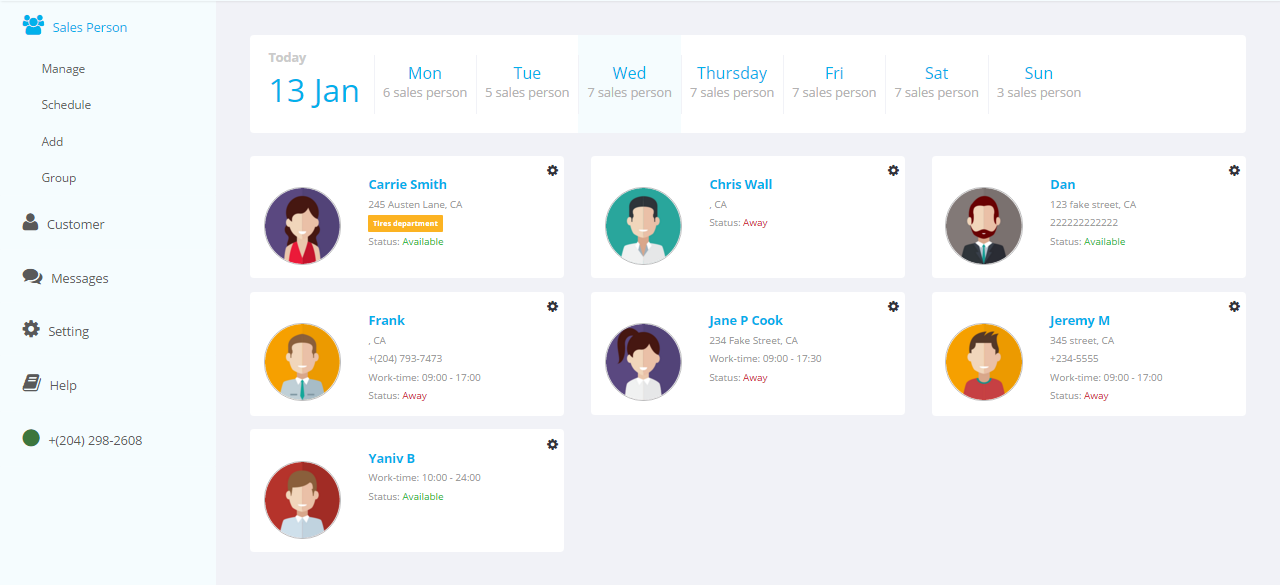
This will bring you to a Salesperson Management page (image below).
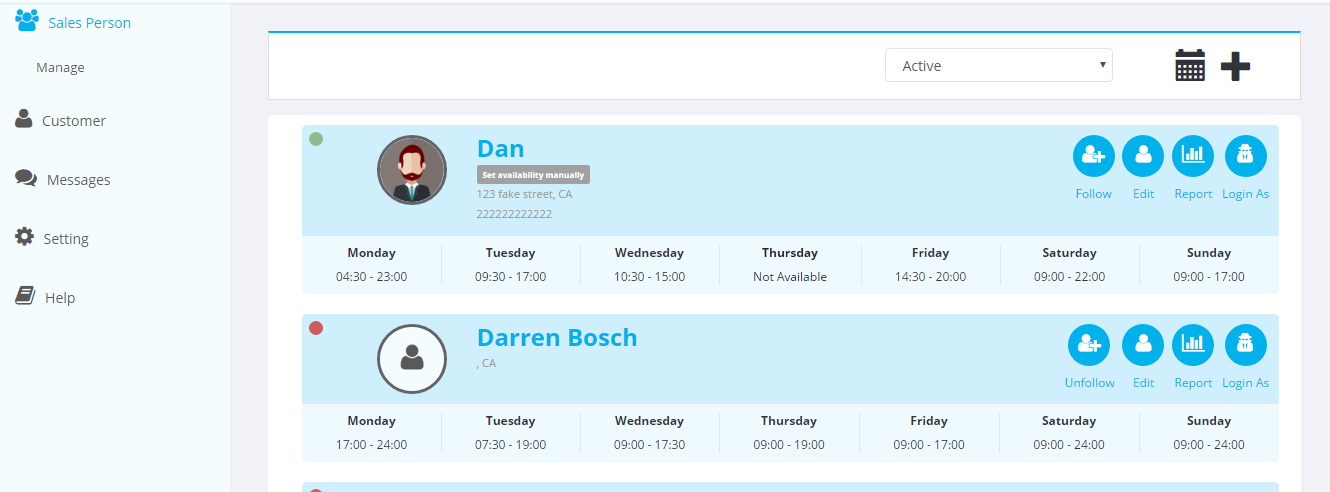
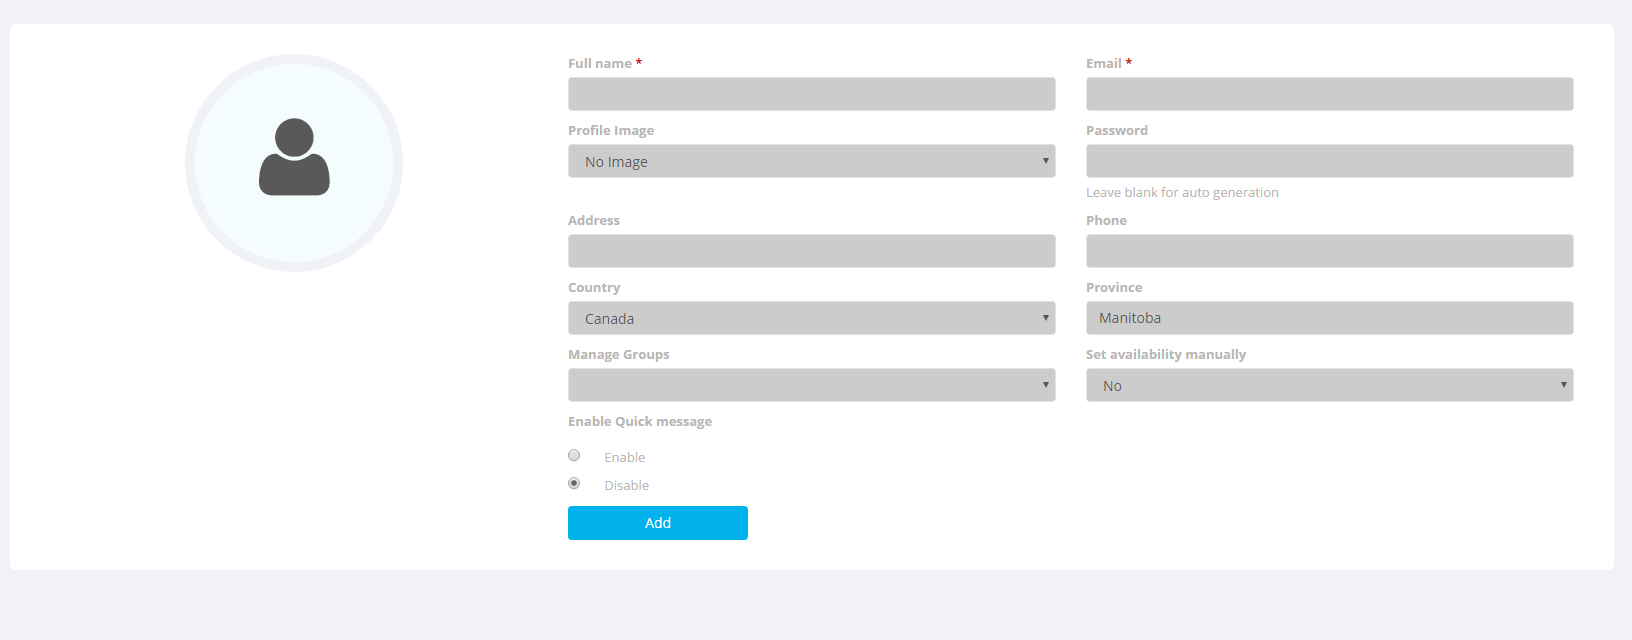
On the top right side of this page you can use the drop down menu to filter the employees that will be viewed on this page. The calendar icon can be used to take you to the Schedule page, in which you can set the hours for your employees. The addition icon can be used to Add a new employee.
The Management tab has plenty of useful tools that should greatly assist in the management of your employees. Let’s take a closer look at some of the options on the list.

First thing to notice is the employee’s information on the card. On this page you can view the employee’s name, work schedule, days off and location (providing this information has been entered into the system)
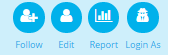
This is the Management Options bar. These links can be used for anything from following the actions of an employee to managing their account security
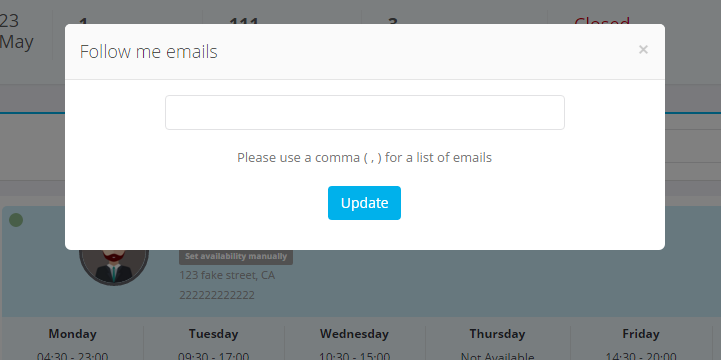
Follow: Following an employee will provide you with an email at the end of the day containing a recorded copy of all the interactions that employee has had with customers on the site. When you click on the Follow icon, the screen below will appear. Here, you will enter the email addresses that you would like to receive the recorded copy of the employee’s interactions.
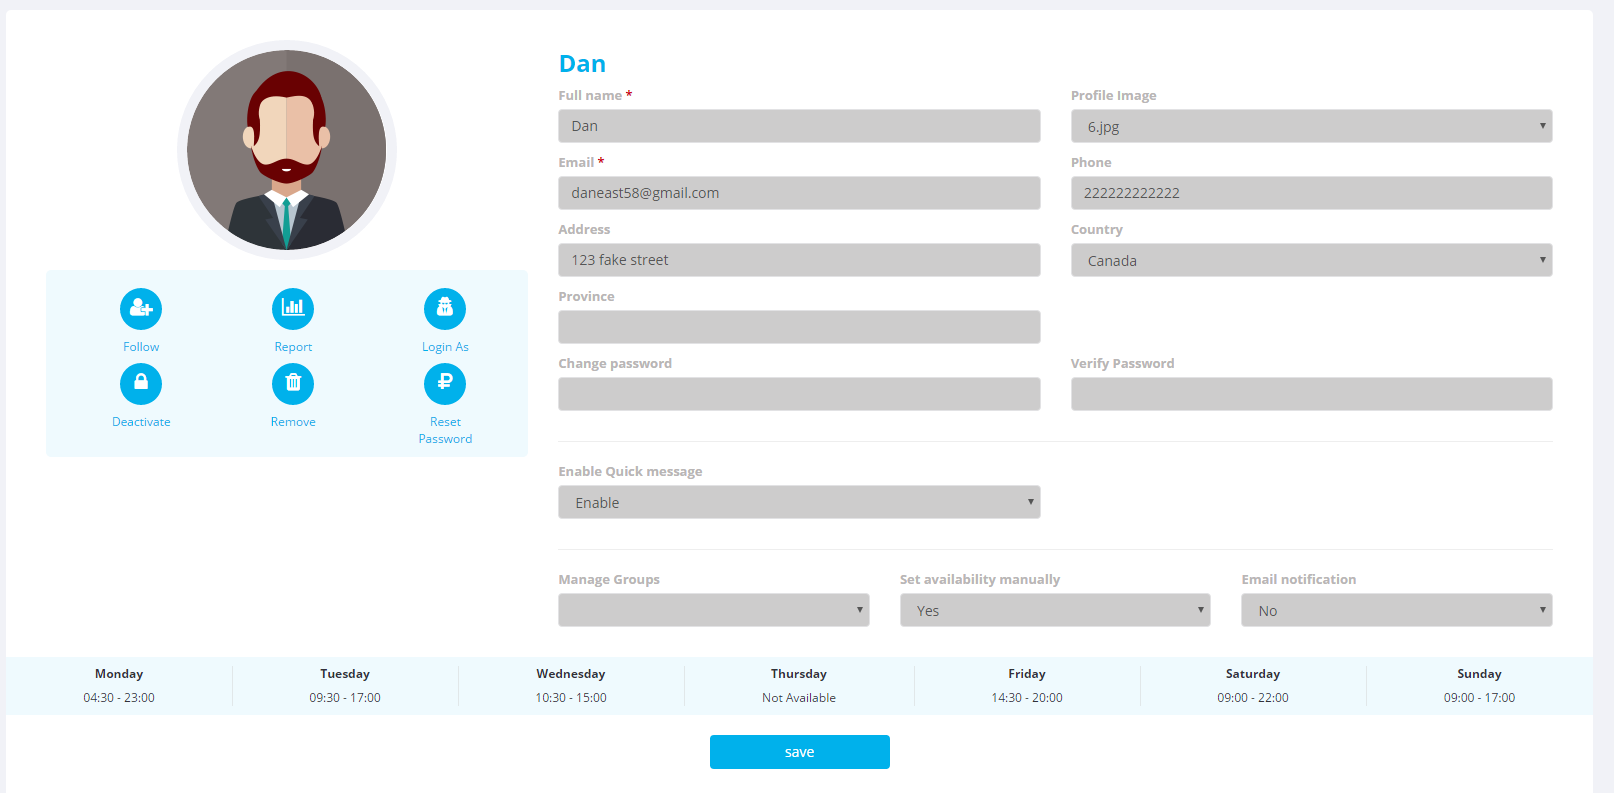
Edit: : Selecting the edit function will allow you to update or adjust any information in the system about that employee.
Report: This will bring you to an on-system report about the interactions and other data of that employee.
Login As: This link allows you to continue using the site as the employee.
There are more options for managing your employee’s settings in the Edit tab. These options will be explained in the section below